When shopping Goodwill/Salvation Army it truly is a hit or miss opportunity.
Awhile back I found a unique looking end table. It was the perfect size and shape
that I needed and I liked the way that the front angled out. I didn't like that it was a
mash-up of wood and laminate in 2 places. But at $5, what did I have to lose?!

In true Lauren form I let it sit in the garage for 6 months (and I wonder why John
hates when I bring new "treasures" home to work on). At the 6 month mark I got
inspired and started sanding. Not wanting to overdue myself, I waited another
month before busting out a brown primer. I took the drawer out, the hideous knob
off and primed the drawer and base separately. So far so good!!!


Until I ran out of primer, go figure. While at the store I found this little gem.

It looked like the $6 version I had read about in a magazine. However, the
Rustoleum version was $2.50!!! It fits right on your spray can like so...
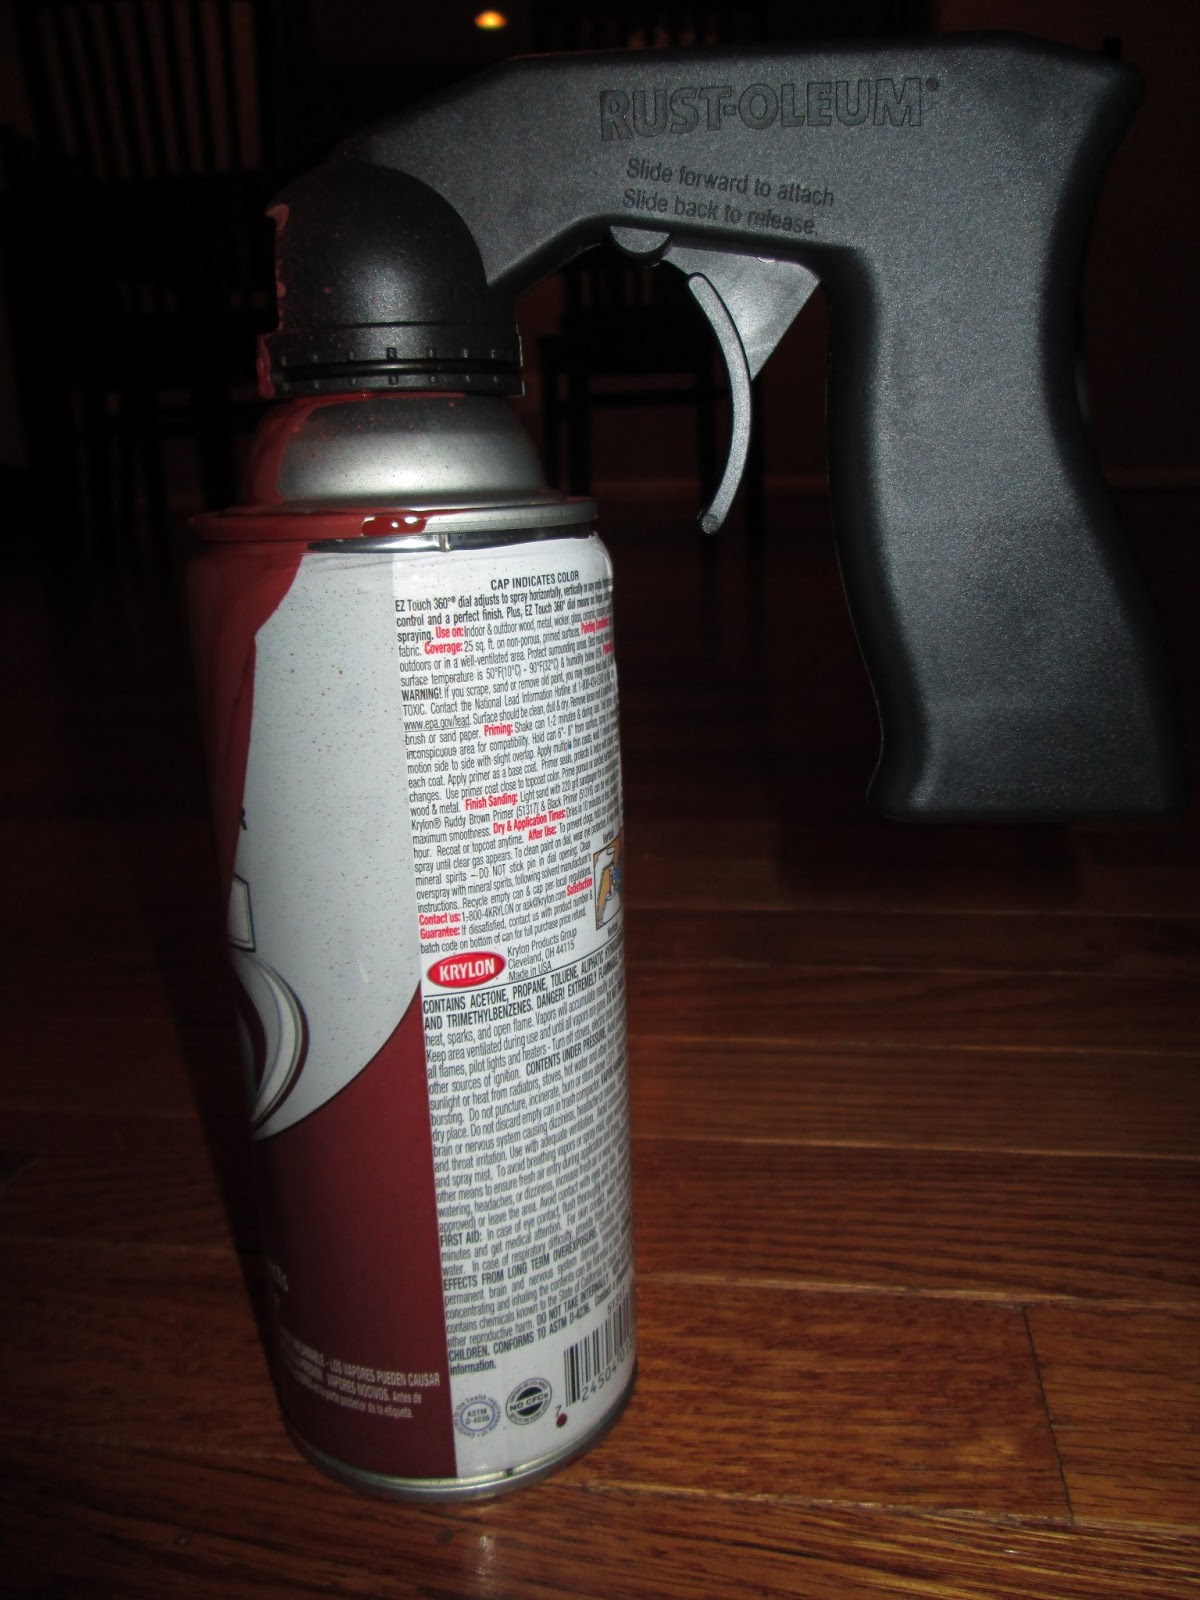
It made round 2 of prime-ing much easier. Less spots a more even finish and less
pressure on my trigger finger!
Onto painting and a valuable lesson learned. DO NOT prime and then spray paint
laminate! Something nagged at me to try the drawer first Just in case something
happened and it did. The paint bubbled up and crackled. I waited a few minutes and
finally touched the paint and both the paint and primer smeared off like a sheet of
paper. After a 5 second freak out I smeared all of the paint and primer off of the
drawer and tried spray painting the drawer from scratch. It looked awful. Then I
had a genius thought, ditch the spray paint and use some good old old fashioned
paint and a paintbrush. And I just so happened to have some laying around from my
nightstand re-vamp (we'll get to that grand story later).It worked like a charm. I
managed to save the primer on the rest of the table and the white was a prettier
shade too! I did two coats of paint and then started sanding by hand little by little.
After 2 sheets of sandpaper I had had enough and got out my trusty
sander. It definitely did the trick!
see all of the pretty lines!

 and here


The drawer ended up having a bit of an issue with the paint but instead of having a
"meltdown" I just went with it. It adds character. When I was done sanding
everything I got out my wax

and placed it on the top of the table, I went to grab it and realized I had left a big
grey smudge all over the top of the table. I LOVED it.
 smudges

So I took my can of wax and scraped it all over the piece. It gave it that last little bit
of something I knew it needed. Then I got to waxing! Here's how it turned out with
the addition of this new knob from Hobby Lobby

ALL DONE!

It did get an unintentional line through the front drawer, but again character! It
far exceeded what I ever hoped this little table could be and I love it! I plan to put
my orchid on it in my downstairs entryway.
before
&after


go visit some friends :


Will you come decorate my house? lol
ReplyDeleteyes, on my next visit!!! I'll start collecting pieces now : ) what is my budget <3
Deletethat looks great, you'd never know you got it from a thrift store. i especially love the knob! :]
ReplyDeleteI love it when the mishaps make the project! Looks fabulous and for five bucks you have a really cute piece! :)
ReplyDeleteLove the salvation army and goodwill. Thanks for sharing at Silver Pennies Sundays. x
ReplyDelete